How to Clean a Baby Car Seat: Step-by-Step Guide
Cleaning a baby car seat feels simple until you realize one wrong move can wreck the straps holding your child in place. Soak the harness webbing, toss the cover in hot water, or spray bleach on the shell, and you've quietly compromised a safety device that's tested to federal crash standards. The good news?
Doing it right takes about an hour of active work and a couple of days of drying time.
In our research, we found that nearly every major manufacturer (Graco, Chicco, Britax, Evenflo, Nuna) draws the same hard line: covers and pads are washable, but harness straps and buckles are spot-clean only. That distinction comes straight from the federal motor vehicle safety standard FMVSS 213, which governs how car seats are built and tested. Get that one rule clear in your head, and the rest of the process falls into place.
how to clean a baby car seat
Clean a baby car seat by vacuuming loose debris, removing the cover and pads per your manual, then spot-cleaning straps and the shell with mild soap and cool water. Machine-wash the cover on gentle with baby-safe detergent only if your manual allows it. Never soak the harness straps or submerge the buckle.
Air-dry everything completely, then reassemble and reinstall the seat.
What You're Actually Dealing With: Parts That Can Get Wet and Parts That Can't
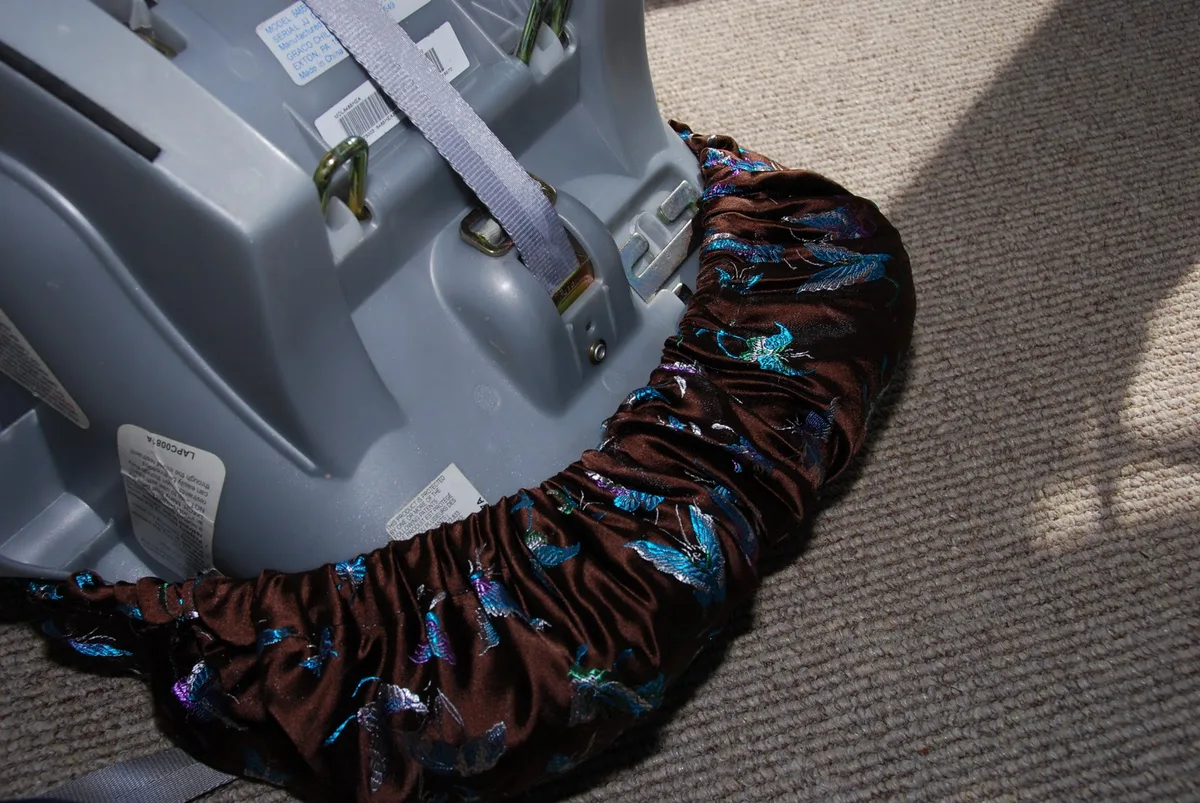
Not every part of a car seat tolerates water. Treat the whole thing like one washable object and you'll damage something that matters. The trick is sorting components into two piles before you touch a sponge.
Image source: Web (Bing) / fromchapelhilltochickenville.blogspot.com (Web image (fair-use with source credit))
The "Never Submerge" List: Harness Straps and Buckle
Harness straps are the single most fragile part of the seat when it comes to cleaning. The webbing is engineered and tested to specific tensile strength. Soaking it in water, detergent, or bleach breaks down the fibers and can void the seat's crash certification.
Wipe straps with a damp cloth and a dab of mild soap. That's it. No scrubbing machines, no soaking buckets, no drying in the sun where UV rays degrade the nylon.
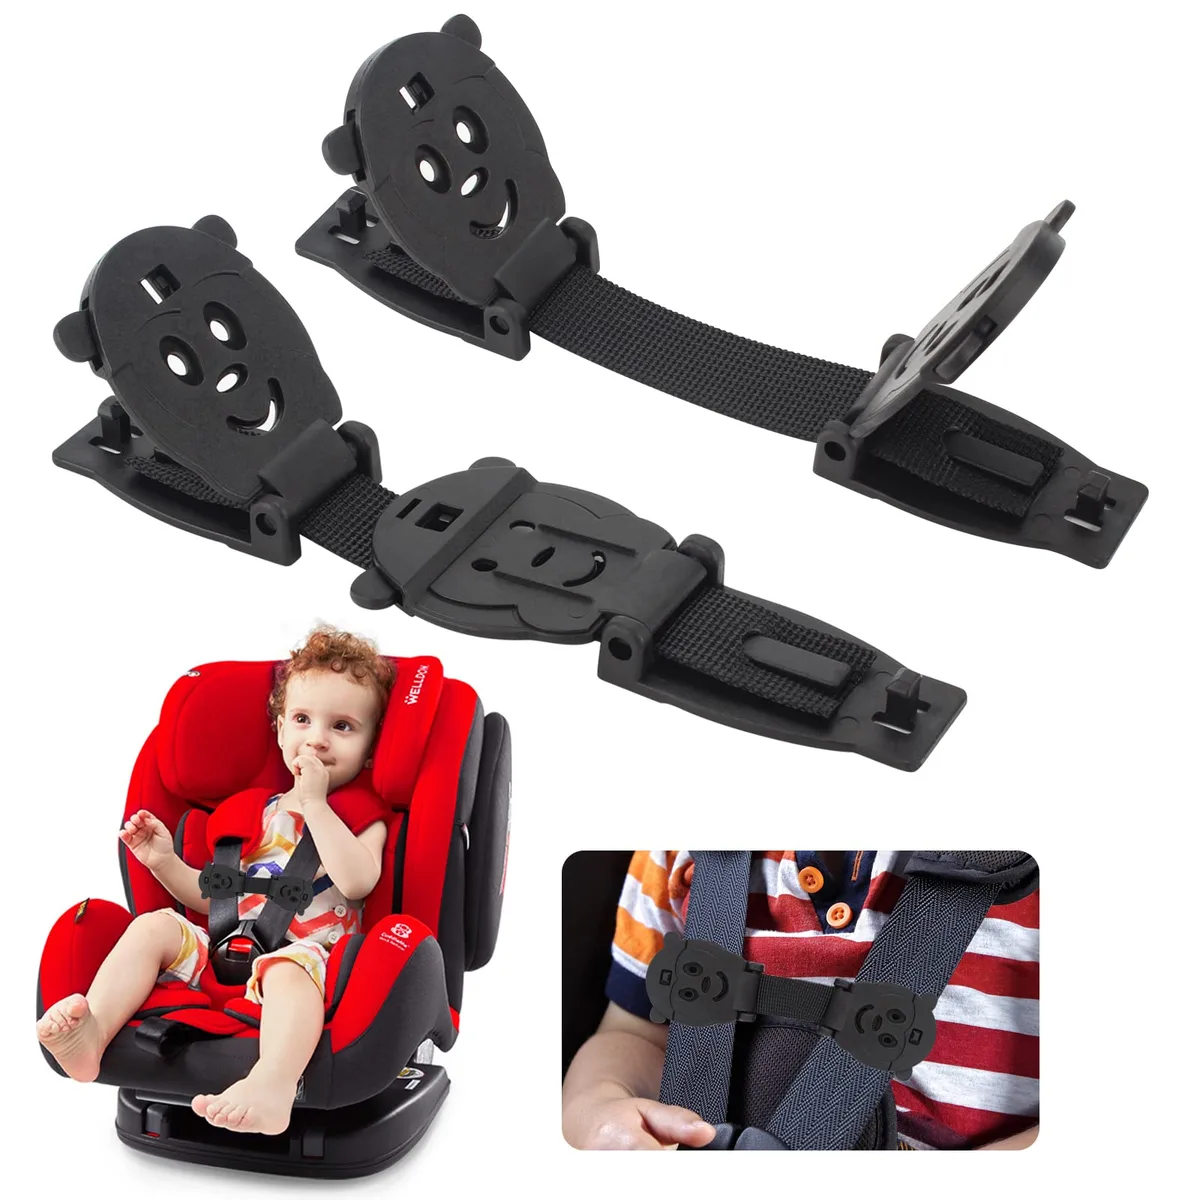
Image source: Web (Bing) / amazon.co.uk (Web image (fair-use with source credit))
The buckle is a close second. Its metal springs trap moisture, rust internally, and eventually stop clicking shut. Clean it with a damp cloth, work the mechanism a few times, and let it air-dry fully before reinstalling.
The "Usually Safe" List: Covers, Pads, and Plastic Shell
Removable covers, infant inserts, canopy fabric, and cup holder inserts are typically machine-washable on a gentle cycle with cold water. Confirm against your manual first, because seat makers vary. Some Britax and Nuna covers, for example, specify hand-wash only.
The hard plastic shell handles mild soapy water and a soft cloth. Avoid ammonia-based glass cleaners or anything abrasive. A scratched shell won't hurt safety, but harsh solvents can discolor or weaken the plastic over time.
EPS Foam: The Hidden Part You Should Never Soak
EPS foam, short for expanded polystyrene, is the white energy-absorbing material hidden under the cover. It's what cushions the seat in a crash. It looks like styrofoam because that's basically what it is.
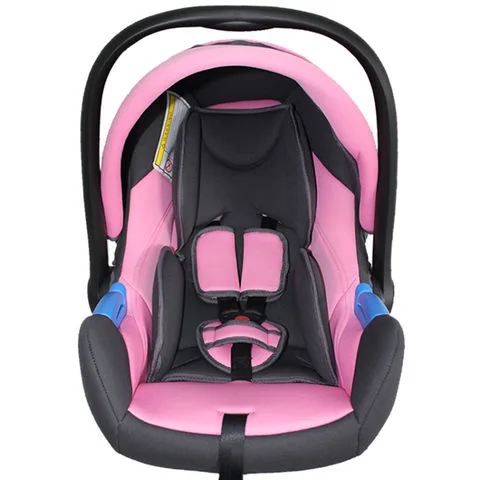
Image source: Web (Bing) / globalsources.com (Web image (fair-use with source credit))
Water destroys it. So does flexing it. If the foam cracks or crumbles, the seat is compromised.
Wipe it with a barely damp cloth, never spray it directly, and inspect for hairline cracks every time you clean.
The Safe Step-by-Step Cleaning Process
Here's the workflow that works across almost every car seat brand, from infant carriers to convertibles. Print it or bookmark it. Step order matters, because disassembling in the wrong sequence leaves you with a tangle of straps you can't re-thread.
| Step | Task | Time |
|---|---|---|
| 1 | Read manual, photograph seat | 10 min |
| 2 | Vacuum loose debris | 5 min |
| 3 | Remove cover, pads, canopy | 10 min |
| 4 | Spot-clean straps and shell | 15 min |
| 5 | Wash cover per manual | 5 min + cycle |
| 6 | Air-dry everything | 24-48 hrs |
| 7 | Reassemble and reinstall | 15 min |
Prep: Photograph, Vacuum, and Disassemble
Take photos of the assembled seat from every angle before you start. Trust us on this one. Re-threading a harness through the wrong slot height is a common mistake, and photos save you a headache.
Vacuum first. Crumbs, sand, pet hair, and dried cereal nest in the crevices, and wetting them just makes mud. Use a crevice tool on the seams and around the buckle housing.
Cleaning the Cover, Inserts, and Canopy
Check the manual for wash temperature. Most covers accept a gentle cycle with cold water and a fragrance-free, baby-safe detergent. Use a small amount, no more than two tablespoons.
Excess detergent residue causes rashes on sensitive skin.
Skip the fabric softener entirely. It leaves a coating on flame-resistant fabrics that can reduce their effectiveness and trap odors.
Cleaning Harness Straps, Buckle, and Plastic Shell
Mix a few drops of mild dish soap in a bowl of cool water. Dip a microfiber cloth, wring it out until barely damp, and wipe the straps front and back. Let them air-dry flat, away from direct sunlight.
For the buckle, use a damp cloth and gentle agitation. Work the release button several times to flush any debris. Then shake out excess water and let it dry completely.
If you hear a click every time you press, it's still safe to use.
Wipe the plastic shell with the same soapy cloth. Rinse the cloth and go over it once more to remove residue. Dry with a clean towel.
Drying, Reassembly, and Reinstallation Checks
Air-drying is not optional. Trapped moisture in foam or padding grows mold within days, and that mold smell is hard to kill.
Lay everything flat in a well-ventilated room. Skip the dryer for pads and covers, because heat can shrink fabrics and warp inserts. Expect 24 to 48 hours for full drying, longer in humid climates.
Reassemble in reverse order. Then run these three safety checks:
- Harness height matches your child's shoulder level or just below (rear-facing)
- Straps lie flat with no twists from buckle to shell
- Buckle clicks audibly, and you can't pinch slack at the collarbone
Reinstall the seat per your manual. Confirm LATCH connections or seat belt routing and check the recline angle with the built-in indicator.
Stain and Odor Playbook: Formula, Vomit, Poop, and Mildew
Different stains need different treatment. Generic stain removers often make things worse, either setting the stain or leaving a residue your baby reacts to. Match the cleaner to the mess.
Baby-Safe Products That Actually Work
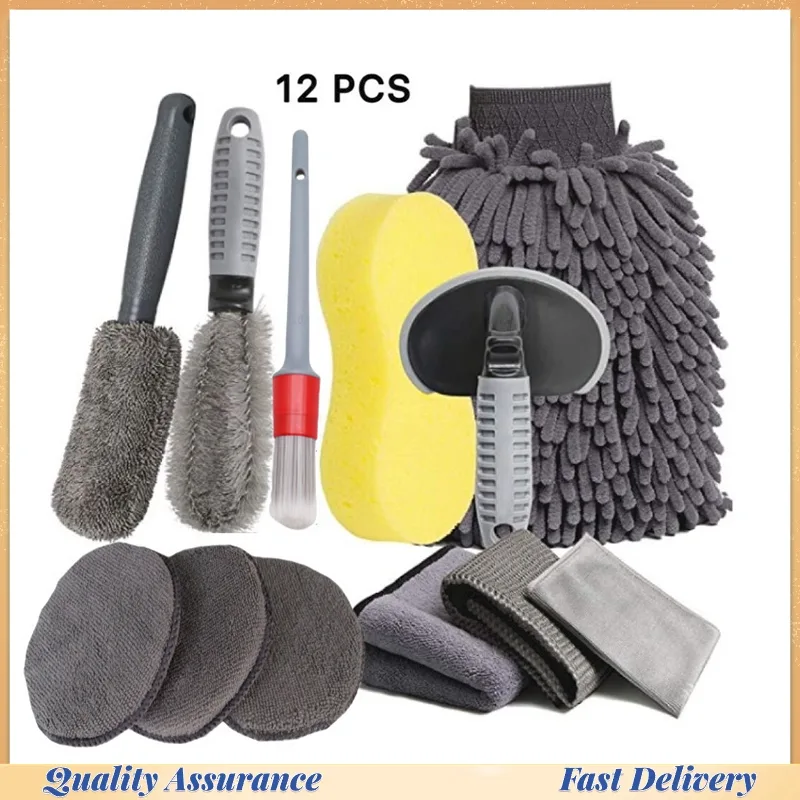
Image source: Bing (Web (fair-use with source credit))
The best car seat cleaning kit isn't a kit at all. It's five things you probably already own:
- Mild dish soap (fragrance-free if possible)
- White vinegar
- Baking soda
- Enzyme-based cleaner (safe for baby fabrics)
- Microfiber cloths and a soft-bristle brush
Enzyme cleaners break down proteins in formula, milk, and vomit. Vinegar neutralizes odors and kills mildew. Baking soda absorbs lingering smells and lifts grease.
Together they cover 90% of what you'll face.
What to Do When the Smell Won't Quit
If odor lingers after washing, sprinkle baking soda over the dry cover and let it sit overnight. Vacuum it off the next morning.
For mildew, mix equal parts white vinegar and water. Wipe the affected area, then air-dry in sunlight for an hour or two. UV helps kill spores.
If the smell persists in the foam, the seat may need replacing. Mold inside EPS foam can't be safely removed.
For vomit, act fast. Scrape off solids, blot the liquid, then treat with an enzyme cleaner before the smell sets. Delay of even a day makes the job twice as hard.
Common Mistakes That Void Safety (and How to Avoid Them)
Per NHTSA guidance, any modification to a car seat that isn't approved by the manufacturer can compromise its crash performance. That covers more than you'd think.
Aftermarket Covers, Strap Pads, and Detergent Residue
Aftermarket covers and strap pads are the quiet safety killer. They aren't crash-tested with your seat. Extra padding under the harness changes how the straps sit on your child, and in a crash that extra inch of padding means slack where there shouldn't be any.
Stick with manufacturer covers and pads. If the original is worn, order a replacement from the brand, not a generic listing.
Detergent residue matters too. Leftover soap on straps or covers can irritate skin and attract dirt. Rinse thoroughly and don't overload the wash cycle.
When a Seat Should Be Replaced Instead of Cleaned
Not every seat is worth cleaning. Replace it if:
- The seat has been in a moderate or severe crash (NHTSA says replace after any crash, regardless of visible damage)
- The harness straps are frayed, cut, or chemically damaged
- EPS foam shows cracks or crumbling
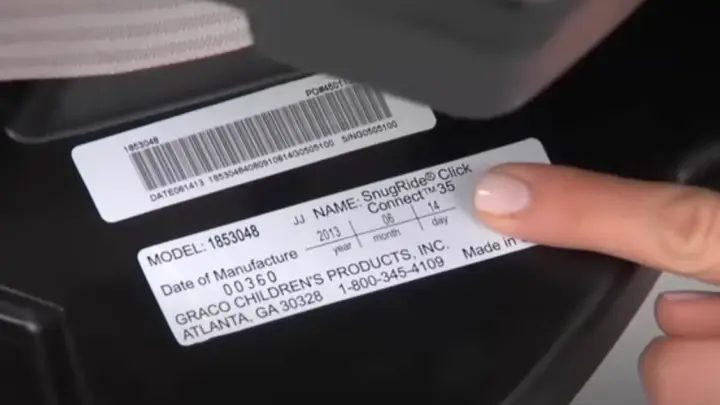
- The seat is past its expiration date (typically 6 to 10 years, printed on the shell)
- Mold has penetrated the foam or padding
Cleaning a compromised seat doesn't make it safe. It just makes a broken seat look nicer.
Keeping It Clean Between Deep Washes
You don't need to fully disassemble the seat every month. Small habits stretch the time between deep cleans:
- Shake out crumbs weekly
- Wipe spills immediately with a damp cloth
- Use a seat protector mat under the base (approved for use with car seats)
- Ban eating and drinking in the seat when possible
- Vacuum crevices every two weeks
A full deep clean twice a year, plus spot-cleaning as needed, keeps the seat hygienic without wearing out the fabric or risking reassembly errors.
Use Cases: Which Cleaning Approach Fits Your Situation
No two messes are the same, and neither is the cleaning job. Use this if/then guide to pick the right approach before you start pulling things apart.
If It's Just Crumbs and Day-to-Day Grime
Vacuum and spot-wipe. You don't need to remove the cover or unthread anything. Fifteen minutes with a crevice tool and a damp microfiber cloth gets the seat back to clean.
This is your weekly maintenance move. Save the deep clean for when something actually spills.
If It's a Formula, Milk, or Spit-Up Mess
Treat immediately with an enzyme cleaner. Add a light scrub with a soft-bristle brush, then blot dry. Protein stains set fast, so the difference between same-day and next-day treatment is huge.
If the spill soaked through to the foam, remove the cover and check for moisture. Any liquid that reached the EPS foam needs air-drying for 24 hours minimum.
If It's Vomit, Urine, or a Diaper Blowout
This is a full deep clean. Remove the cover, wash per manual, and treat the straps with a damp cloth and mild soap. Enzyme cleaner is your best friend here, and vinegar neutralizes the ammonia in urine.
Expect to air-dry for 48 hours in humid weather. Rushing this step traps odor in the padding.
If You Bought the Seat Used
Clean it fully before your child ever sits in it. You don't know what happened in that seat. Check the expiration date stamped on the shell, look for cracked EPS foam, and inspect the harness for fraying before you bother cleaning.
If anything looks compromised, walk away. A $40 used seat with damaged straps isn't a bargain.
If You Live Somewhere Humid or Coastal
Mold prevention changes your routine. Wipe down the shell monthly with a vinegar-and-water solution. Skip the seat protector mat if it traps moisture underneath.
And dry everything in front of a fan, not just in open air.
If the Seat Belongs to a Daycare or Rideshare Vehicle
High turnover means high exposure. Sanitize covers and wipe straps between children. Skip alcohol-based sprays on webbing, since they strip the fabric coating.
Stick with mild soap, and wash covers more often than a typical family would.
Costs, Time, and What a Professional Clean Actually Covers
You can do this whole job for the cost of a bottle of enzyme cleaner and a microfiber cloth. That's roughly $15 to $25 for supplies you'll reuse for years. Compare that to a professional car seat cleaning service, which typically runs $50 to $150 per seat.
| Option | Cost | Time | Best For |
|---|---|---|---|
| DIY spot clean | $0-5 | 15 min | Weekly upkeep |
| DIY deep clean | $15-25 | 2 hrs + drying | Spills, vomit, used seats |
| Professional service | $50-150 | Drop-off, 1-2 days | High-end seats, mold, resale prep |
Where the Money Actually Goes
A professional detailer uses an extractor, which pulls moisture out of fabric fast without soaking it. That's the main advantage. It cuts drying time from 48 hours to a few hours.
What they usually don't do is remove the harness straps or disassemble the seat. Many won't touch straps at all because of liability. So the safety-critical cleaning still falls on you.
When Professional Is Worth It
If the seat is moldy, was in a flood, or came from a smoker's home, professional extraction is worth the cost. Same goes if you're prepping a seat for resale and want it looking sharp.
For everyday messes? Skip it. The DIY method in the step-by-step section handles 95% of what you'll face.
Time Budgets That Match Reality
Plan two hours of active work for a deep clean. Add 24 to 48 hours of drying. If you're doing two seats, double the washing time but not the drying time, since they can air-dry side by side.
Don't try to squeeze a deep clean into a busy weekday. Start on a Friday night and reassemble Sunday.
Maintenance: Keeping the Seat Clean Without Overcleaning It
Overcleaning causes its own problems. Every wash cycle wears down fabric. Every disassembly risks mis-threading or losing a small part.
The sweet spot is light upkeep between rare deep cleans.
The Two-Week Routine
Vacuum the seat every two weeks with a crevice tool. Wipe down the shell and buckle with a damp cloth. Shake out the cover to release crumbs.
That's it. No washing, no disassembly.
This keeps odor and grime from building up, so your next deep clean is easier.
The Twice-a-Year Deep Clean
Every six months, do a full removal and wash. That's enough to stay ahead of hidden dust, allergens, and fabric wear. Any more often and you're shortening the cover's lifespan for no real gain.
Season Changes Matter
Swap routines when the seasons shift. After winter, clean salt and slush residue off the shell, since it corrodes metal components. After summer, check for sunscreen stains and melted crayons in crevices.
When to Retire the Seat
Maintenance has a limit. Once the seat hits its expiration date, printed on the shell, cleaning is pointless. Same goes for cracked EPS foam or frayed straps.
A clean seat with a compromised harness is still an unsafe seat.
Small Habits That Extend Seat Life
Keep a small trash bag in the car for wrappers and crumbs. Use a seat protector approved for use with car seats. Ban sticky snacks when possible.
These tiny habits cut cleaning time in half over a year of use.
Signs You're Cleaning Too Often
If covers fade, zippers snag, or snaps loosen within a year, you're washing too much. Every wash breaks down fabric fibers a little. Twice a year is plenty for most families.
Spot-clean in between and let the deep clean cycle do its job.

Similar Posts